
When man started learning how to make primitive tools during the Bronze Age, it quickly took us to a whole new level of innovation. We suddenly went from using bulky unreliable stone tools to having axes, razors, and chariots.
With the Iron Age that was to follow, we got tools like the plow, sickle, and civilization as we know it.
Considering how much we rely on metal tools, it should go without saying that blacksmithing is one of the most important survival skills to know.
I learned to weld and forge in a professional workshop. The temperature was easily controlled, and I had a slew of tools at my disposal for shaping and cutting metal.
Even with this knowledge, I still found making things on a DIY forge difficult. Controlling the temperature is a lot harder. It will also require a lot more patience to forge with a DIY metal furnace because you don’t have a torch for quickly heating up parts of the metal. Nor do you have those wonderful grinders (Amazon link) for getting clean, sharp edges.

So, I’d recommend that you first go and learn welding and forging from a professional before you try any DIY setups. There are probably a lot of workshops that you can take. Sometimes community colleges even offer metalworking classes.
Once you’ve got some basic knowledge, you can try a DIY setup.
What You Need to Make a DIY Forge
Whether you want to forge an axe or something else, you will need 4 basic things for the setup:
1. Heat
Steel melts at 2750 degrees F. That is a high temperature! Luckily, you don’t need to get your forge that hot.
You want to keep the temperature under 2500 degrees F for steel so it doesn’t just liquefy on you.
This blacksmithing website has a great guide to the temperatures at which steel melts and the color it turns at that temperature.
Of course, you don’t have to use steel when forging your DIY axe. You can also use other types of metal, including ones that start melting at lower temperatures.
Aluminum, for example, melts at a low temperature of just 1220 degrees F. It isn’t going to be nearly as strong, though. Usually, aluminum is used for casting and not forging.
2. A Way to Hold the Metal
You’ll need a pair of strong grips (Amazon link) or tongs for holding the metal you are forging into an axe. You don’t want your tongs to start melting when they touch the scrap metal you are working on!
Some people just hold the scrap metal with gloved hands, but that only works if you’ve got a long piece of metal so the end you are holding isn’t transferring heat from the furnace. In short, you’ll need tongs to make your axe.

3. An Anvil
An anvil (Amazon link) is what you put your metal on top of while working on it. The anvil needs to be very heavy to withstand all the hammering you will do on top of it.

4. A Hammer

You’ll need this to bang the heated scrap metal into the desired shape. Anything else which is strong and applies force will also work. Check out blacksmith hammers on Amazon.
Don’t want to make a forge?
Have a look at this well rated coal fired blacksmith forge on Amazon.

Building Your DIY Forge
For a forge to get metal hot enough to make it molten, it needs fuel and air. Modern forges use gas. However, you can also use coal or charcoal for a DIY forge. It won’t be as easy to control the heat, but it will (eventually) get the job done.
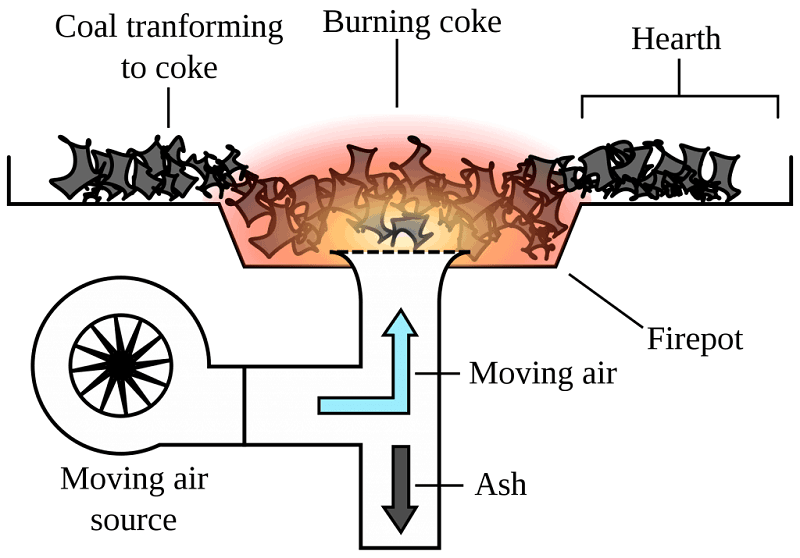
To build your forge, you will need the following:
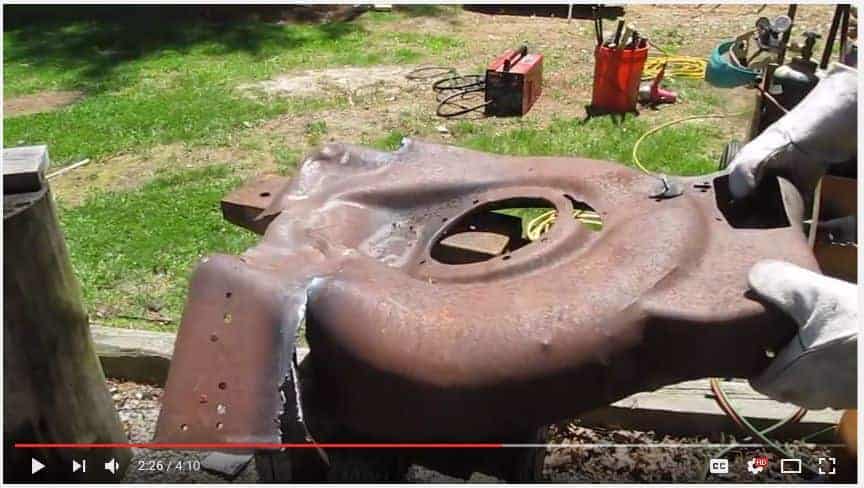
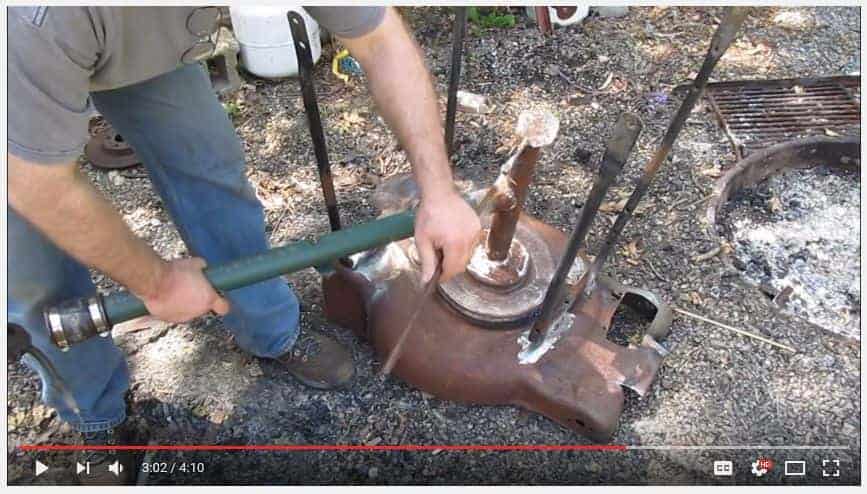
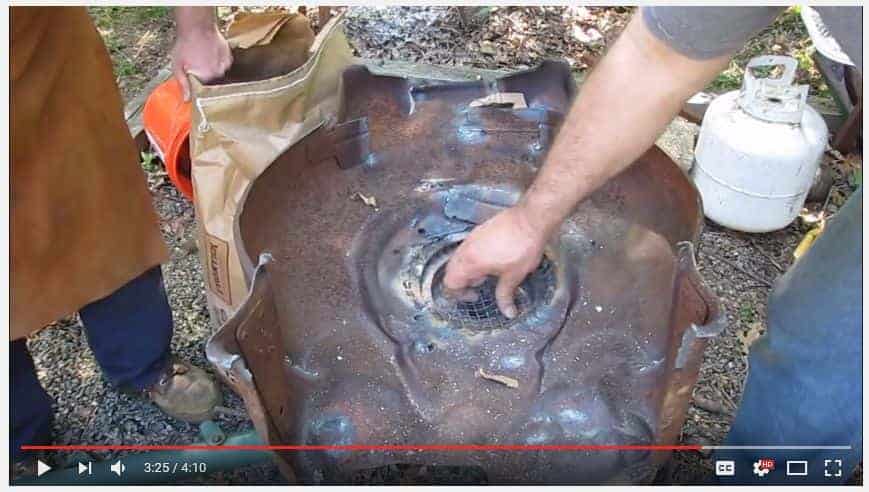
- Fire Pot: This is a round basin that is tough enough to hold hot coals. In the video below, he uses the bottom of a lawn mower that has been hammered into shape. I’ve also heard of people using BBQs as their fire pots, but you’ll have to drill holes through them for the tubes.
- A tube for ash drainage: You’ll probably need some mesh wire to put over the ash drainage pipe so your coal doesn’t fall out.
- Coal or charcoal: Yes, charcoal can work!
- Moving air: This is usually accomplished by hooking a pipe up to the forge basin and then hooking a hair dryer to it to blow air in. The moving air is essential for getting the coals hot enough to melt metal.
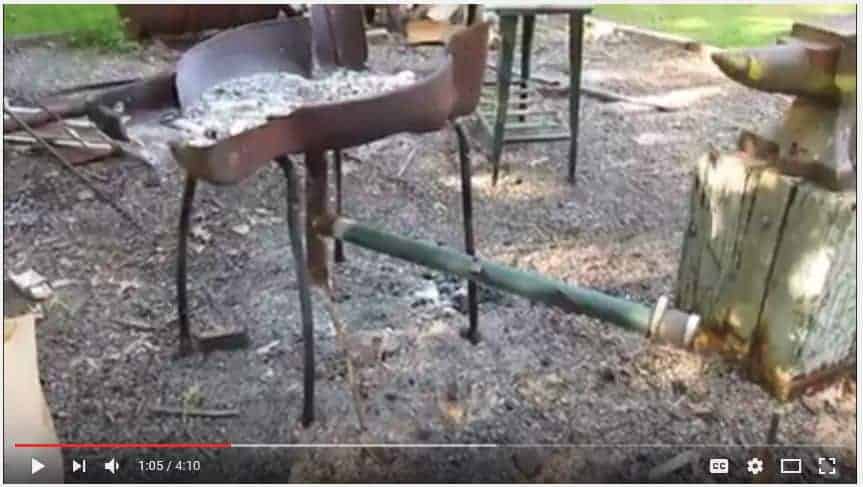
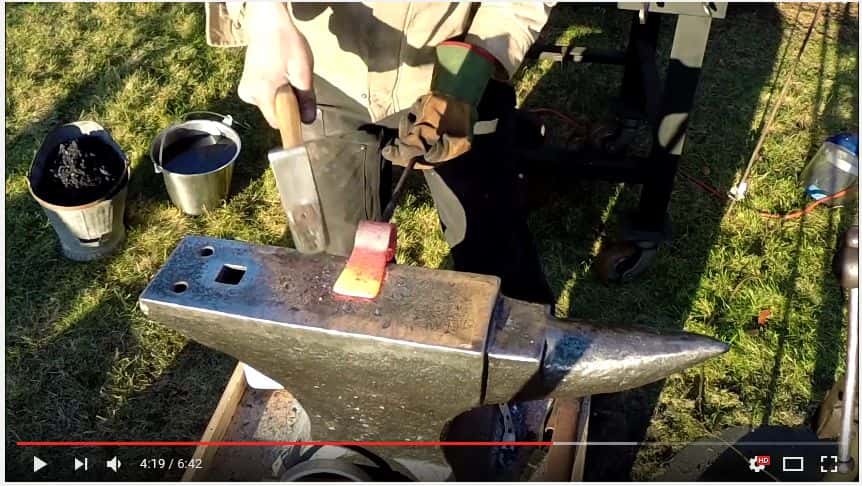
This video shows you how to make your own forge.
The downside of his method is that he had to weld a lot of the parts together. If you don’t have a welder or it is a complete SHTF survival situation, so you don’t have any tools, then you’ll have to improvise how to make the forge.
Making Your Axe
Now that you have made your forge, you can use it to make tools like an axe. The first thing to think about is how you will connect the axe head to the handle.
All tools from olden times have a hole where the handle would go through. This was very convenient. If an axe head (or hammer) broke, they could slip a new one onto the old handle. Thus, all the tools used the same size handle hole.
There are a few other ways to attach an axe head to a handle. However, the “hole’ method is still the best. It will ensure that your axe head doesn’t go flying off. Remember that the connection between the axe head and handle takes a lot of pressure. You don’t want the connection to be weak!
*Consider the handle when choosing your scrap metal for the DIY axe. You might find some scrap metal with a hole that could be used for the handle. This would save you a lot of work!
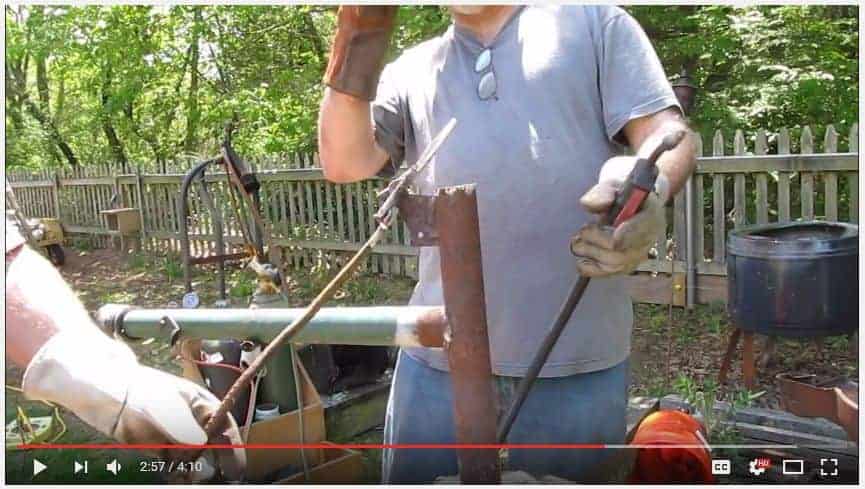
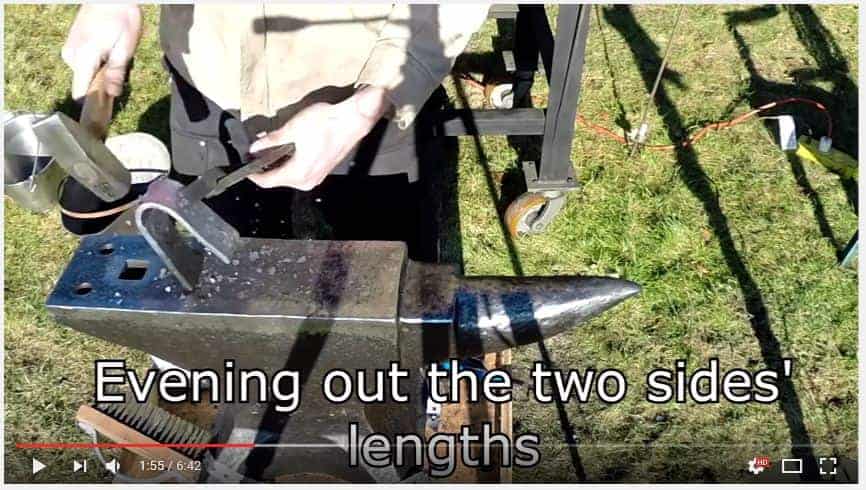
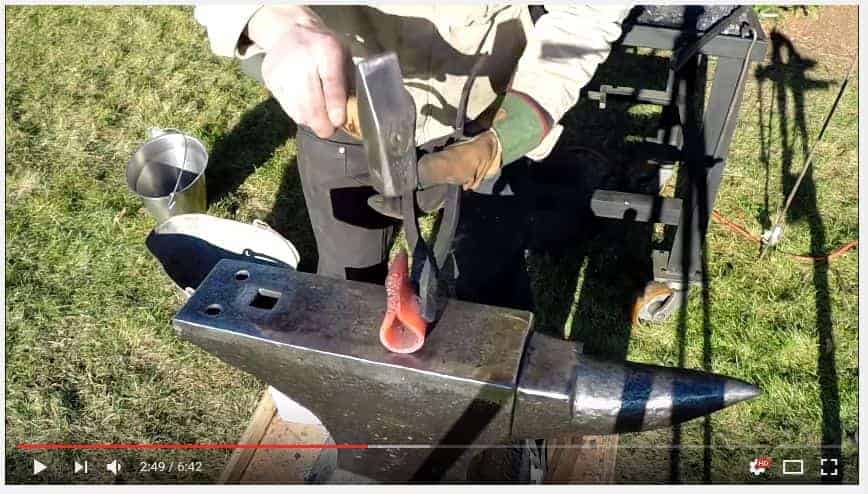
Hopefully, your anvil has a pointed “horn.” You bang a heated metal strip around the horn to form a circle for the handle hole.
In this video, you can see how it is done. He’s making a hatchet, but the same techniques apply.
You could make many different types of axe, so adapt the general techniques as required.
If you prefer to buy your axe, see our guide to the best bushcraft axe.

Have you ever tried DIY forging? How did it go?

Great to the point presentation . Love all , do more.