Mushrooms don’t stay fresh for long.
They can pop up overnight and disappear just as quickly, but you don’t have to wait until next season to enjoy the flavor again. If you dehydrate mushrooms, you can use them for food and medicine all year long.
Read on for a complete guide to dehydrating mushrooms, including tips for storing your shrooms properly and alternative drying methods for those without any equipment available.
Materials for Dehydrating Mushrooms
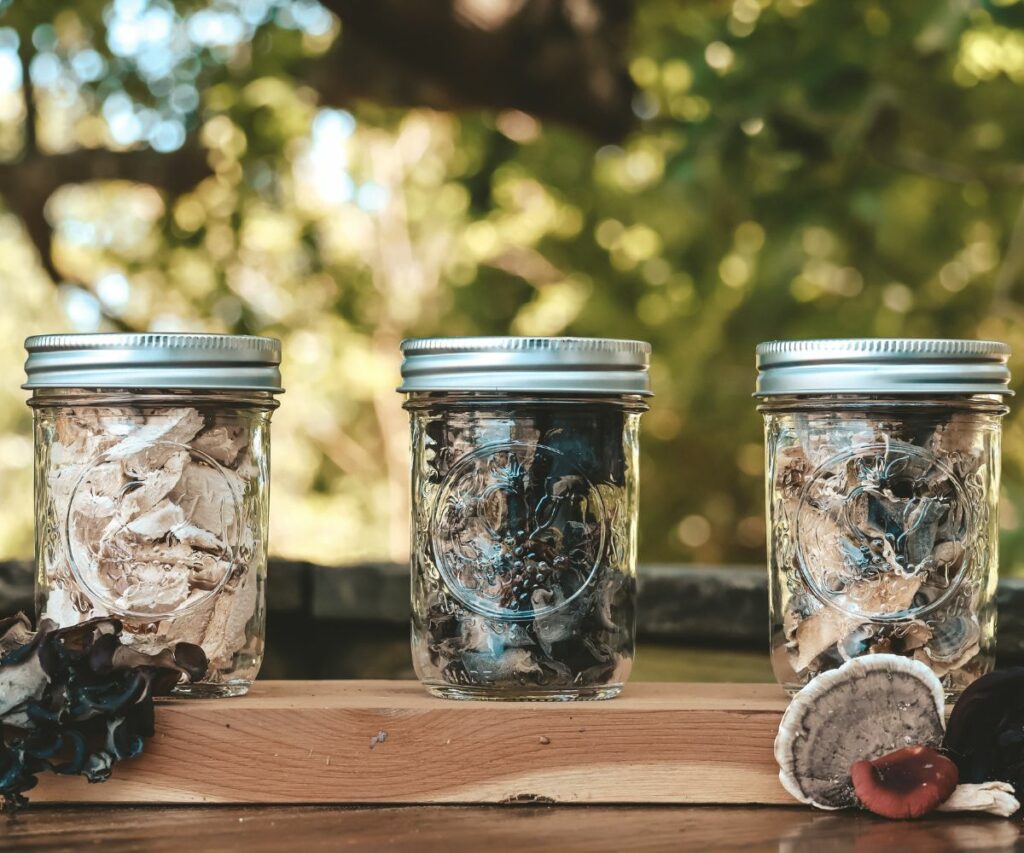
You don’t need much to start dehydrating mushrooms. It’s a simple process, and nearly everything is adaptable to suit your situation. Here’s what you’ll need to get started:
- Mushrooms: You can dehydrate any mushroom. The drying process remains essentially the same regardless of type. You want to start with at least half a pound because they usually shrink down a lot as they dry. If you have more, you can dry several pounds at once.
- Knife: You’ll use this to slice the mushrooms for dehydration. It can be challenging to slice fungi thinly, so choose a sharp knife with a fine blade.
- Dehydrator: If you have a dehydrator, it will speed up the drying process immensely. However, you can also use an oven or air-dry the shrooms. See below for a more detailed explanation of alternative methods.
- Storage container: You need an airtight container for long-term storage. Using mylar bags with oxygen absorbers is the gold standard here, but they aren’t strictly necessary. If you plan to use the shrooms quickly, store them in mason jars or ziplock bags instead.
How to Dehydrate Mushrooms
1. Source Your Shrooms
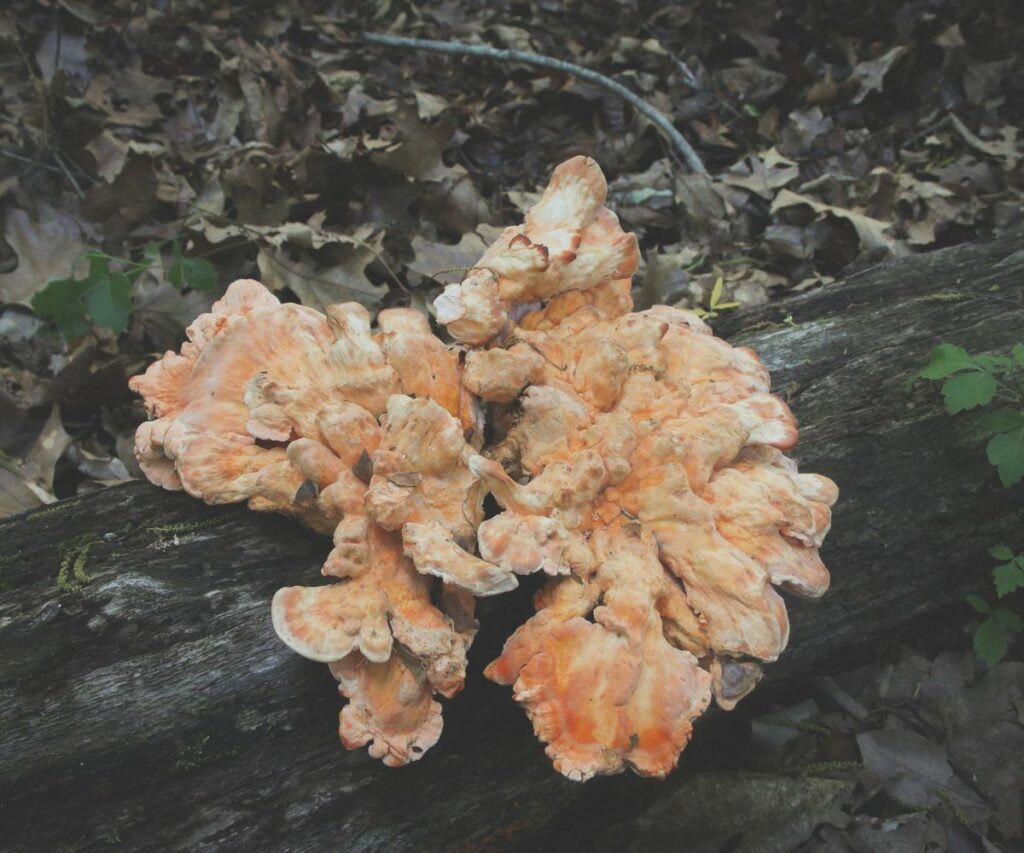
Sourcing high-quality mushrooms will set you up for success. I like to forage seasonal mushrooms like wood ear, chanterelle, chicken of the woods, and oyster. Once I find a decent honey hole, I’ll collect fungi weekly and dry them throughout the course of the season.
However, you don’t have to forage. Those living in cities can buy fresh mushrooms at the local market, then dry them at home. If they’re on sale, this is a great option — buy them in bulk and save the rest for later!
No matter where you get your shrooms, inspect them thoroughly before you pick or buy them to ensure they haven’t gone past their prime. Choose fresh, young specimens free of rot and insects. When collecting wild shrooms, check for bite marks to ensure hungry forest creatures haven’t nibbled on your food.
2. Clean Fresh Fungi
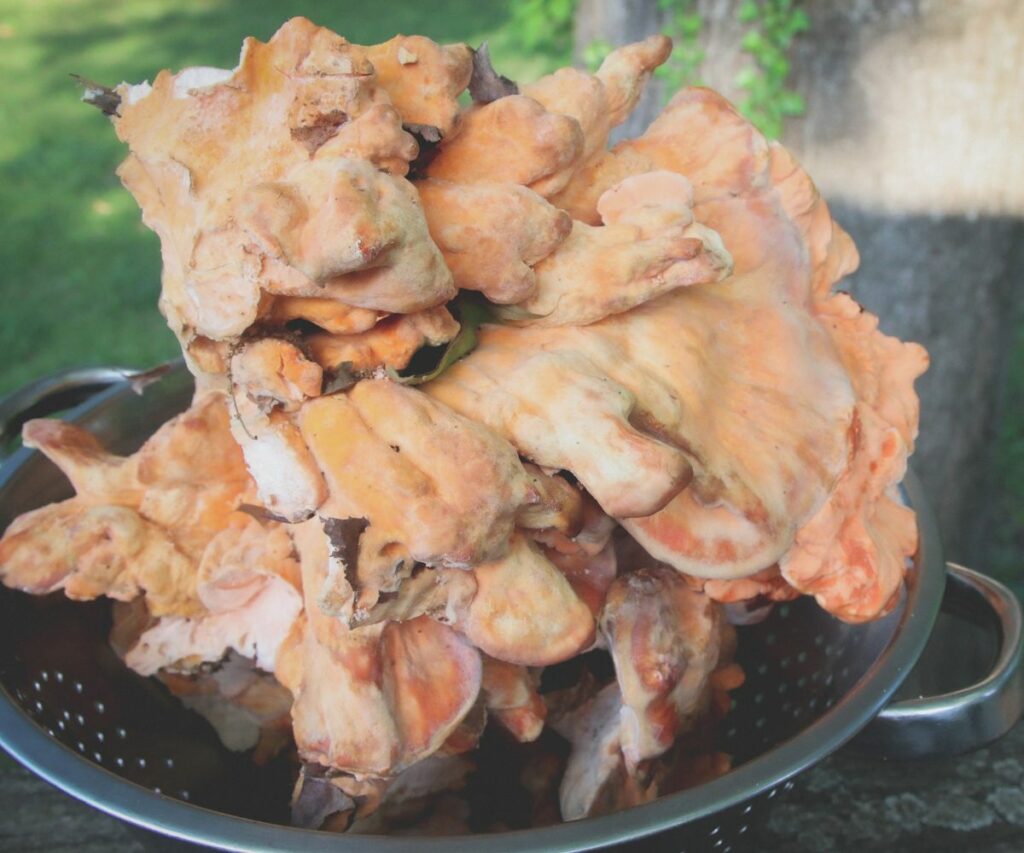
Once you’ve got a batch of choice fungi, it’s time to clean them. You can follow the instructions in our general guide to cleaning foraged plants, but the process will vary depending on the type of shroom you have and how dirty it is. Some only need a quick wipe, while others require a thorough scrubbing.
Even if they’re very dirty, you don’t want to submerge fresh mushrooms in water for long periods. This promotes rot and makes drying harder.
Instead, use a damp cloth or brush to remove dirt and bugs. Remember that some species of larger fungi might have to be chopped up to remove sticks and leaves trapped inside when the mushroom grows around them.
3. Trim and Slice Shrooms
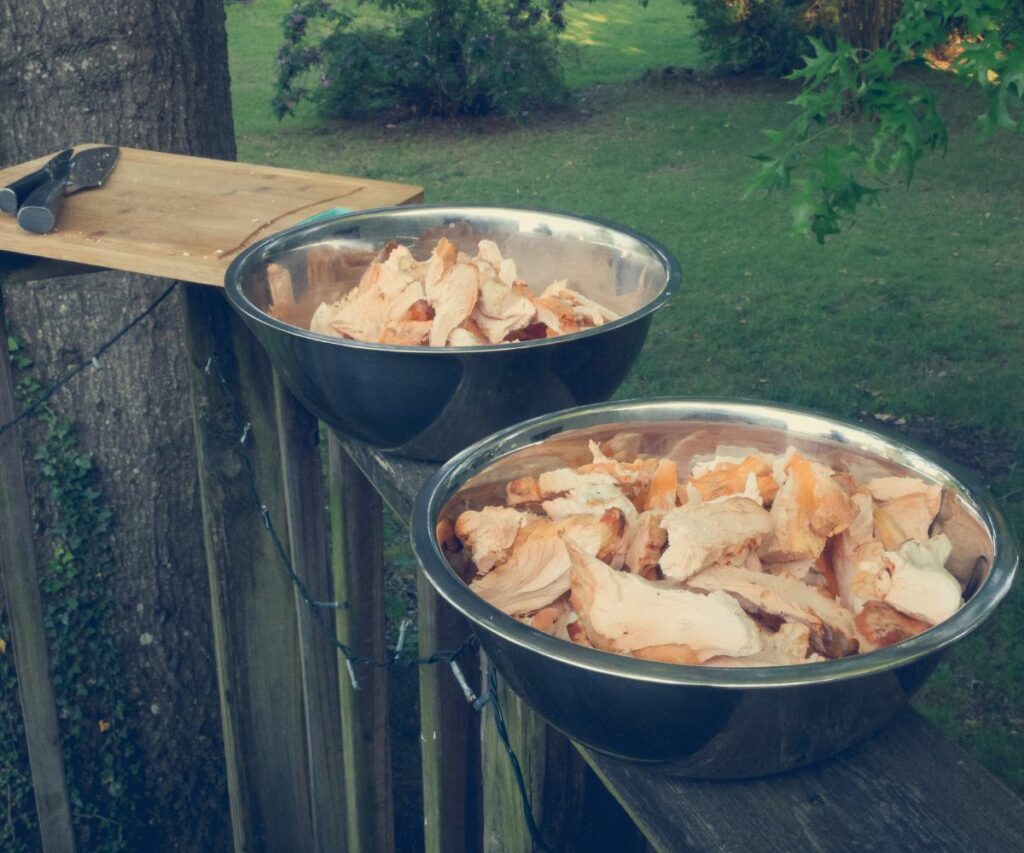
Fungi can get bruised easily during harvest and transport. If yours have dark spots or mushy areas, trim them away. Once you have a clean and healthy fruit in front of you, slice it thinly into strips one-fourth to one-eighth of an inch thick. How thin you cut them depends on your desired application.
Thicker slices are better if you plan to rehydrate them later for soups or sauces. Larger pieces allow the mushrooms to retain some of their body, so you’ll get to experience the original texture when you eat them.
If you plan to grind them down into a medicinal or umami flavoring powder, the texture won’t matter. In this case, you should cut them as thin as possible so they dry faster.
Read: How to make turkey tail powder
4. Arrange and Dehydrate
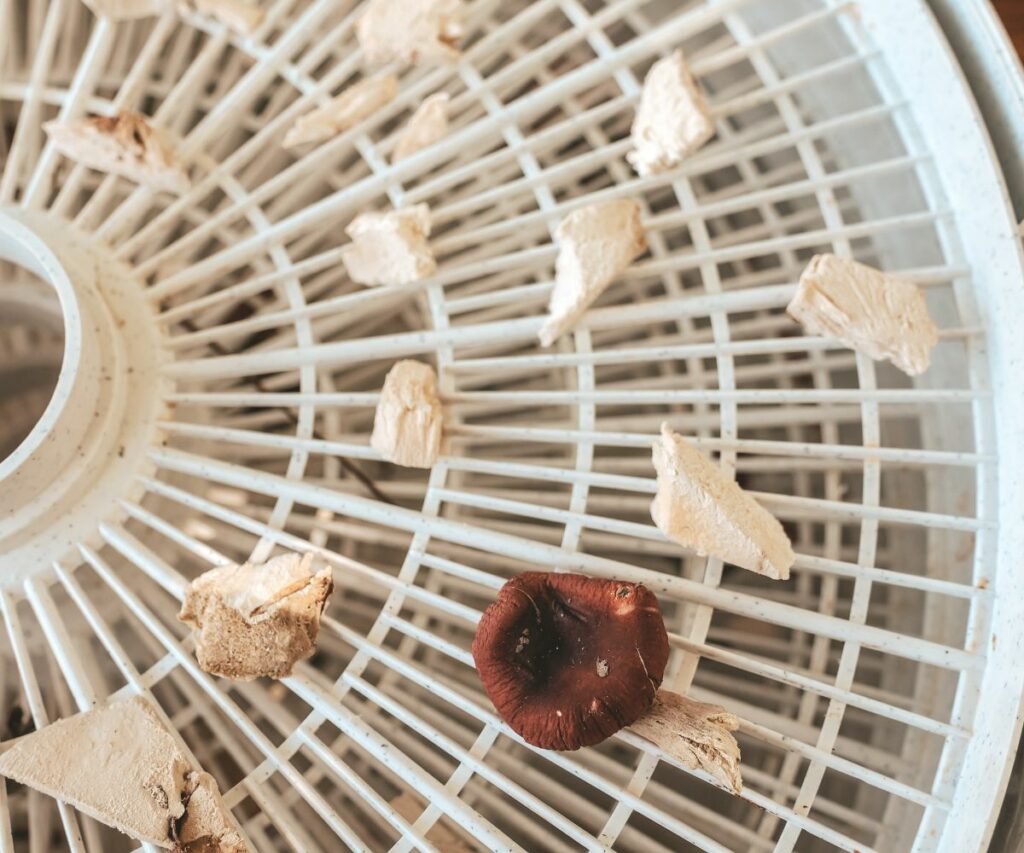
Arrange the mushroom strips on your dehydrator racks, leaving a few centimeters between each piece. This space will allow air to circulate between the fruits and dry them more quickly. Once you’ve arranged them, set your dehydrator to the correct temperature.
I usually dehydrate shrooms at 115°F and leave them for 6–12 hours. It’s important to note that dehydration timing depends largely on the type of mushrooms you have. Those with a higher moisture content, like chicken of the woods, will take longer to dry. Shrooms with little water, like wood ear, will be done faster.
Of course, factors like your specific dehydrator and the humidity levels in your home can also impact drying times. Check your shrooms after the fourth hour to examine their progress. If they have a lot of give or feel moist to the touch, leave them to dry for longer. If they crack and snap easily, they’re probably done.
5. Store Properly
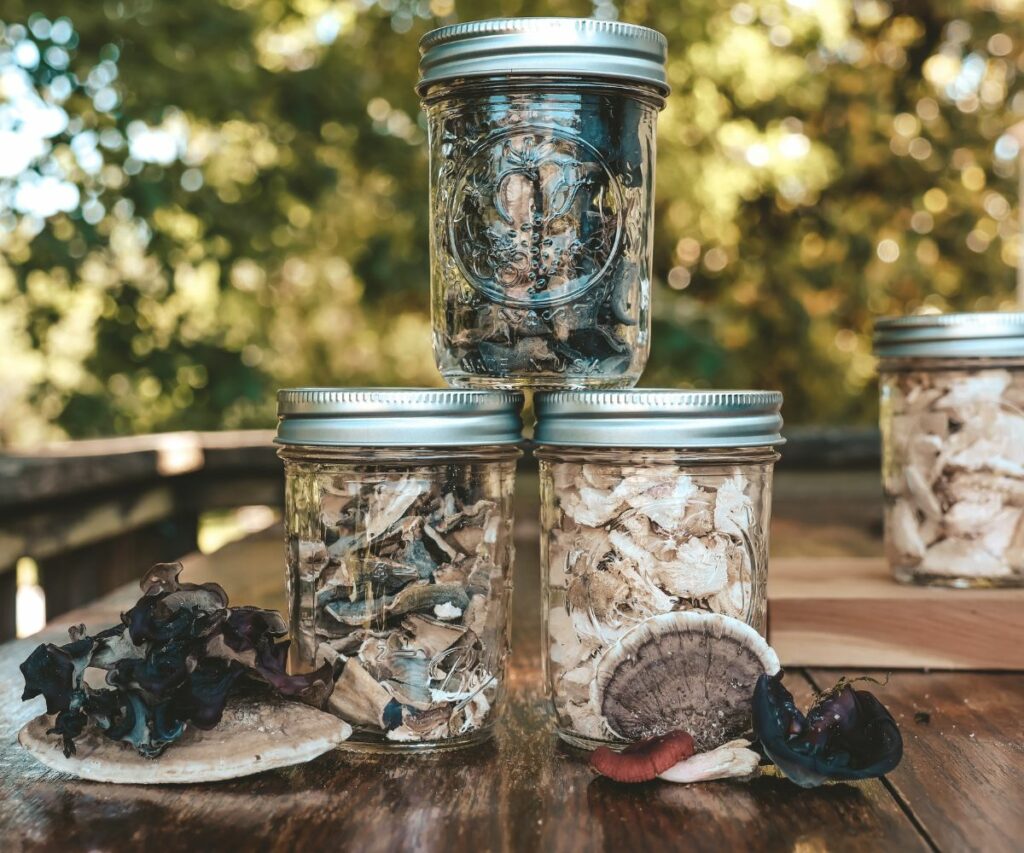
When stored correctly, dried mushrooms last a long time. They can stay good indefinitely in the freezer, though they may lose some nutritional quality over extended periods. If you want to maximize their shelf life without refrigeration, mylar bags are your best bet. They can keep your crop fresh anywhere from two to five years.
If you know you’ll use dried fungi within a few months, you’ll be safe storing them in mason jars, ziplock bags, or Tupperware. No matter what container you put them in, keep them in a cool, dark area of your home to extend their lifespan.
Alternative Ways to Dehydrate Your Mushrooms
What if you don’t have a dehydrator? You’re not alone. Before getting my Nesco Snackmaster, I dried my shrooms in the oven or open air. Both are simple methods and easily achievable with a bit of know-how.
Dehydrating Mushrooms in the Oven
Dehydrating mushrooms in the oven is an excellent alternative to using a dehydrator. You’ll clean and slice the shrooms as desired, then arrange them on a sheet pan or an oven-safe cooking rack. If you don’t have one, I’d highly recommend the Ultra Cuisine Baking Rack. It’s affordable, durable, and small enough to keep tiny shroom bits contained.
Once you’ve prepped your fungi, set the oven on its lowest setting. This is usually between 150°F and 175°F.
If you have a convection oven, turn on the convection mode for air intake and circulation.
If you don’t have a convection oven, leave the oven door cracked just a smidge to allow airflow. You can use a spoon or crumpled aluminum foil to prop it open. Depending on their moisture content, your shrooms should be ready in four to six hours.
Air-Drying Mushrooms
Air-drying mushrooms is the easiest way to dehydrate them. When I have a massive crop of turkey tail or wood ear, I always default to this method. After cleaning and slicing, you simply lay the mushrooms on a paper towel, wire rack, or wooden planks. Place them in an out-of-the-way area so they don’t get disturbed, and wait for them to dry.
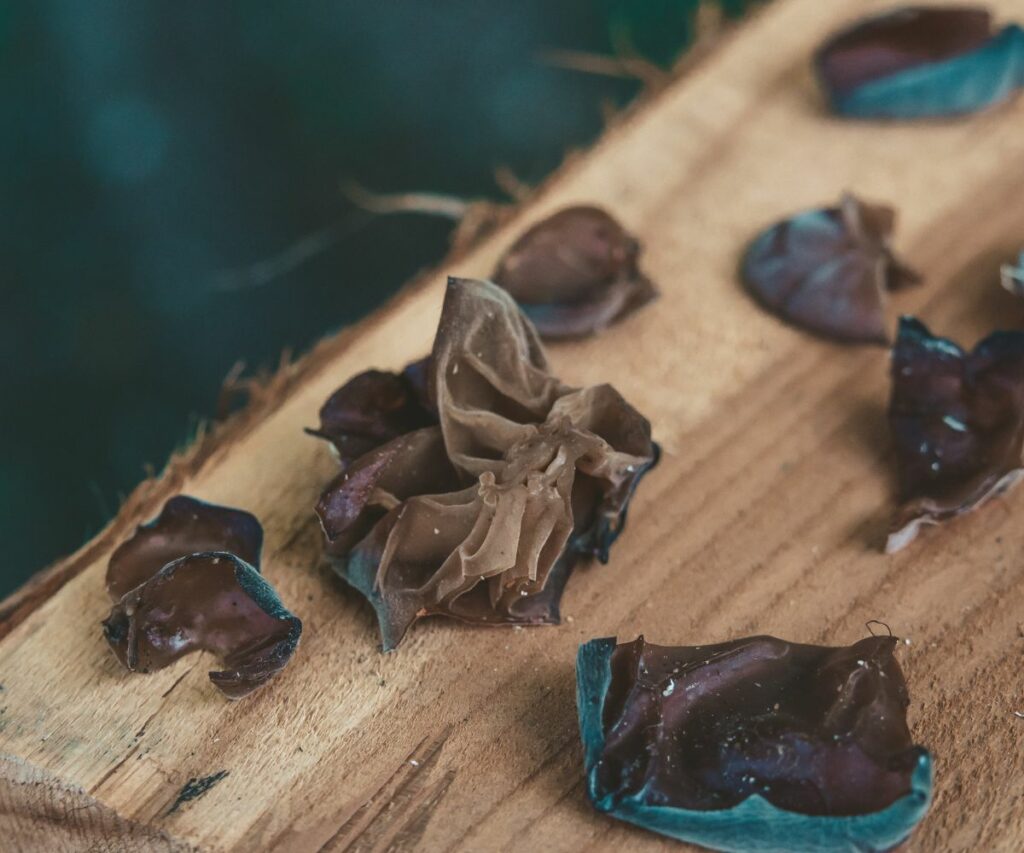
My shrooms are usually dry within a week. However, the humidity levels in your home play a huge role here. If you want to encourage them to dry faster, you can move them out into the sunlight during the day. Just be careful to move them back indoors at night because animals love mushrooms too. You don’t want critters scavenging your finds and ruining all your hard work.
Alternatively, you can hang them to dry. With this method, you don’t have to cut them up unless they’re very large. Instead, you use a needle to thread whole shrooms or big chunks along a string. Then, hang the line in a window or other sunny place. The process of hanging up mushrooms gets pretty labor intensive, especially if you have a big crop to dry. But if you want to preserve the structure of the original fruiting body, it’s your best bet.


