
Summer is the season of plenty.
These magical months bring an array of garden-fresh veggies, but those with exceptionally green thumbs may wind up with more produce than they can handle.
Why not turn the excess into a healthy, tasty chip?
Drying veg for chips is easy and fun, but it’s not as simple as it seems. Read on to learn how to make dehydrated vegetable chips correctly and discover essential techniques to keep them crispy, crunchy, and crave-able all summer.
Golden Rules for Making Veggie Chips

Dehydrating food for immediate consumption is not the same as dehydrating food for MREs or long-term storage.
While dehydrated veggie chips can be stored safely for extended periods, these flavorful little bites are meant to be eaten fresh. Since you won’t be rehydrating them later, it’s essential to learn some guidelines to make them taste good as-is.
Choose Your Vegetables Wisely
You can dehydrate most vegetables, but not all of them make great chips. You’ll want to avoid those that are squishy when ripe, such as tomatoes or avocados.
They will dry out but won’t take on a crunchy texture in the dehydrator. Veggies with a more solid structure, like squashes, roots, and tubers, are better for crispy chips.
If you’re unsure what vegetables to use, I’ve listed my favorites below. Just remember that dehydrating is a choose-your-own-adventure type of activity. Just because I’ve never had success with carrots doesn’t mean you can’t. It’s important to play around and see what you like.
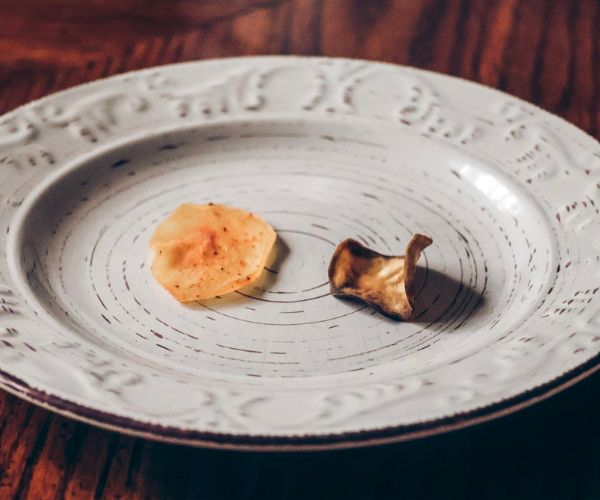
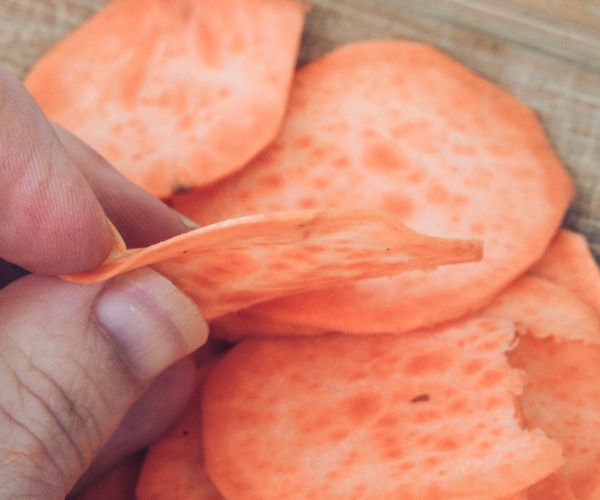
Crisp winners
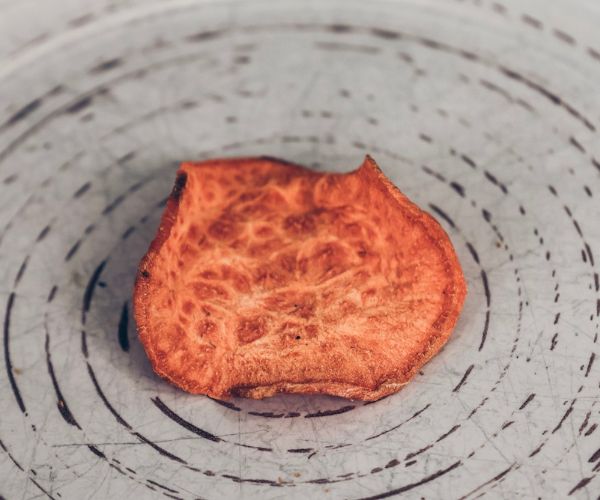
- Yams
- Beets
- Yuca
- Pea pods
- Kale
- Squash
Limp losers
- Carrots
- Romaine
- Onion
- Okra
- Arugula
Know When to Blanch
Blanching is a way to pre-treat vegetables by scalding them in hot water, steaming them, or even popping them in the microwave.
This brief heat immersion lets them release liquid, dry faster, and retain texture and color when dehydrated. It also begins the cooking process, breaking down tough starch and fiber in the produce.
Blanching is crucial when working with starchy or fibrous roots like potatoes and beets. They wind up discolored and leathery if you don’t blanch them, tasting like a dry version of the raw root you started with.
On the other hand, watery veggies like zucchini and squash don’t need to be blanched. Their starch content is minimal, their fibers are easy to chew, and blanching makes them go mushy.
Utilize Oil and Salt the Smart Way
Salt is integral to an excellent dehydrated chip. It draws water from vegetables and helps them dehydrate faster. Plus, it tastes nice. If you cannot eat added salt, you can still make veggie chips, but they may take longer to dehydrate.
Oil is also essential because it gives chips their crispy texture. We usually eschew fats during the dehydrating process since they cause food to spoil faster, but this is only a detriment when dehydrating for preservation. Since chips are a ready-to-eat snack, there’s no need to make them fat-free.
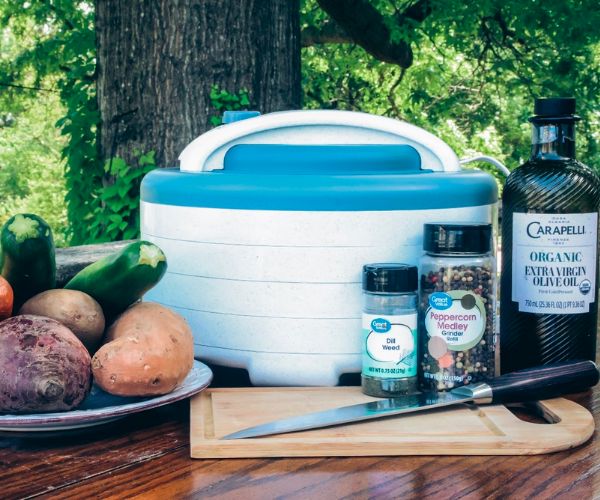
What You Need for Dehydrated Vegetable Chips
Making vegetable chips requires a fair bit of legwork and a lot of waiting. It usually takes an entire day for me to make a big batch, though most of that is hands-off time waiting for the chips to dehydrate.
Here’s what you’ll need to begin:
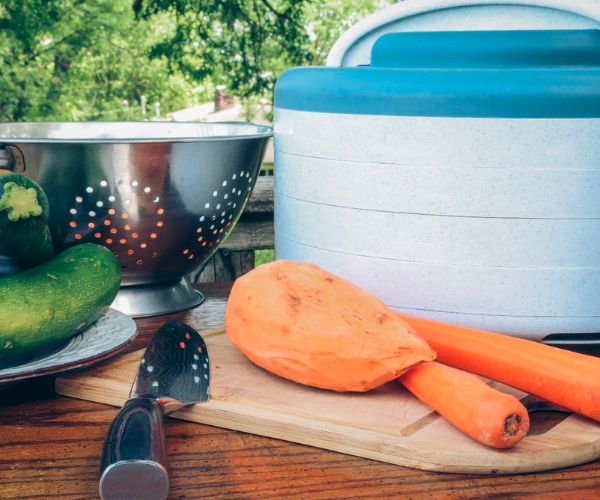
- Dehydrator: You can make veggie chips with any electric dehydrator. I use the Nesco Snackmaster Encore, which works quickly and efficiently.
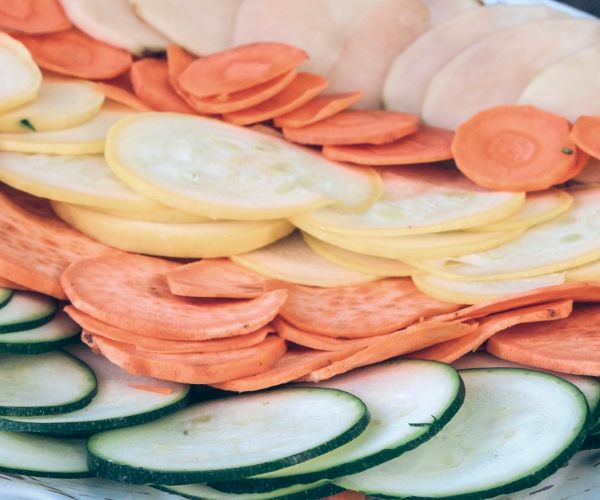
- Vegetables: You can use any firm garden veggie you have in excess. I find yams, potatoes, zucchini, squashes, and beets crisp up quite nicely.
- Oil: Oil makes the chips crispy and flavorful. I use extra-virgin olive oil but have also had success with simple canola cooking spray.
- Salt: Salt adds essential flavor and speeds up dehydration. Popcorn salt gives a nice, even coating, while sea salt adds bursts of more intense flavor and looks more appealing visually.
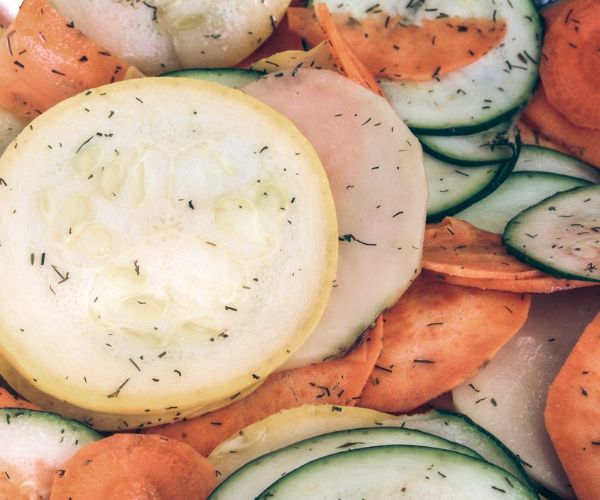
- Seasoning: Additional seasonings are optional but encouraged. Earthy flavors like cumin and turmeric work well with root veg, while dry herbs like dill and parsley pair well with vine-ripened produce.
- Cutting tool: You can use a mandolin, a large-hole grater, or the slicing attachment on a food processor. I use a very sharp knife because I prefer slicing different vegetables to different thicknesses, and cutting them by hand gives me more freedom.
- Blanch setup: You can use a pot for water-blanching, a steam basket for steam-blanching, or a microwave if you have one.
How to Make Dehydrated Vegetable Chips
1. Clean Your Vegetables
Start the sanitary way by washing your veggies. Clear off dirt, debris, and insects with cold running water. It’s wise to peel root veg and all store-bought vegetables before dehydrating them to eliminate lingering grime or chemicals.
2. Slice Veg Uniformly
You want to slice your vegetables as evenly as possible so they dry at the same rate. How thick or thin you slice them depends on how you like your chips.
It’s wise to cut watery veggies like squash a bit thicker, or the insides will shrivel and disappear as drying gets underway. On the other hand, it’s better to slice hard root veggies like yams very thinly, or they won’t crisp and curl.
3. Blanch
Remember, you don’t have to blanch every single vegetable. A good rule of thumb is to blanch items you wouldn’t eat raw, like potatoes. However, there are exceptions to the rule. For example, I’ve had great success making yam chips without blanching, though I’d never eat them raw.
4. Salt and Season
For best results, sprinkle your vegetables with salt right after blanching, then wait a few minutes for the water to seep out. Pat the vegetables dry with a paper towel, then add your oil and sprinkle on a touch more salt.
Want to add some extra spice? Old Bay and Tajin are solid accompaniments that add flavor fast without much work. You can also get creative in the kitchen and make your own unique spice blend.
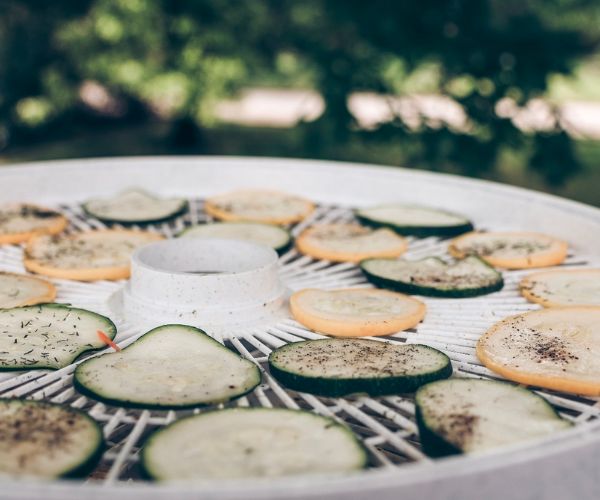
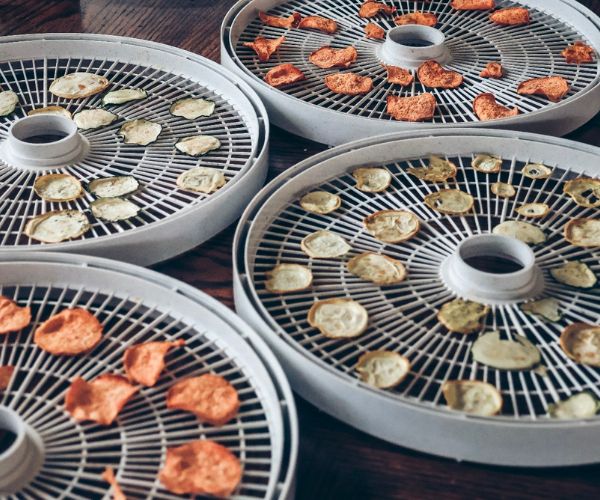
5. Arrange and Dehydrate
Once the veggie slices are salted and seasoned to your liking, it’s time to arrange them on your dehydrator racks.
Place them at least a few centimeters apart to encourage airflow and speed up drying. I dehydrate my chips at 160 degrees Fahrenheit. Higher temperature settings are the gold standard here because they allow chips to curl and add a delicious crunch factor.
My chips usually take between four and five hours to reach peak deliciousness, but your veggies could require more or less time to come out palatable. Dehydration time depends on many factors, including your specific dehydrator unit and each vegetable’s water content.
Water content is highly variable; even two identical squashes could have different amounts. So, start with four hours, then check the progress from there.
6. Check Progress
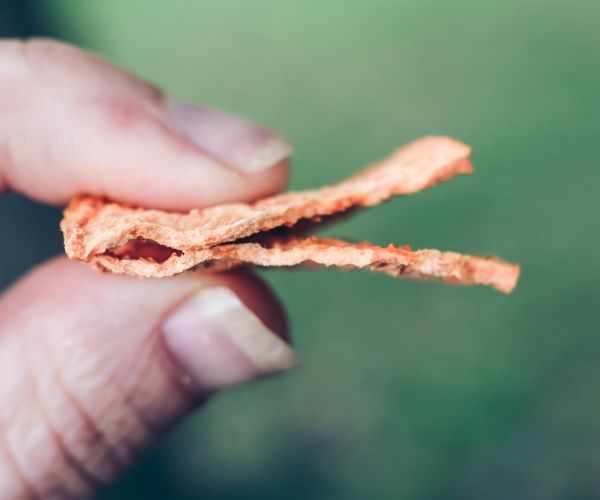
After four hours, remove a single chip from the dehydrator and break it in half. It should be crispy and crunchy throughout, snapping immediately with no give.
If it bends or feels leathery, continue dehydrating the rest of the chips. Check on them periodically every hour until you’re satisfied.
If you made chips using multiple types of vegetables in a single batch, remove one of each type. Since different vegetables may require more or less time, you might have to remove all the zucchini chips and put the yams back in to dehydrate for another hour. Just feel it out and go with the best-tasting option for you.
7. Cool
Once you’ve got a perfect product, turn off the dehydrator and allow the vegetable chips to cool on the unit’s racks. You want to leave them to sit for about five minutes because they will continue to firm up as they cool.
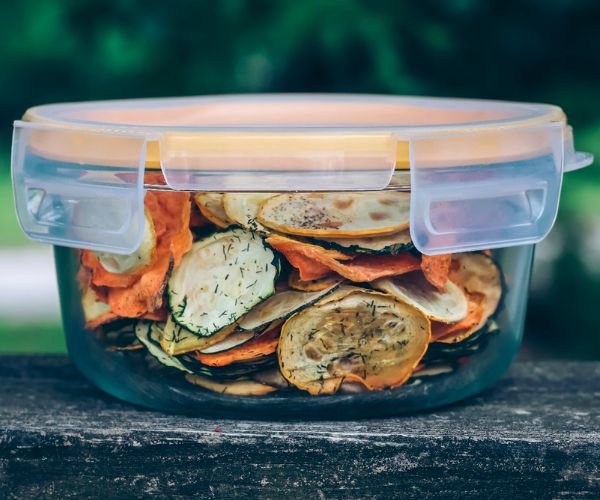
8. Store and Enjoy
Let’s be honest — you’ll probably eat your veggie chips right away. But if you end up storing them, put them in an airtight container to prevent spoilage. If they go stale in storage, pop them back in the dehydrator for an hour to crisp up again.
Has your dehydrator been gathering dust during the winter?
Now that you know how to make vegetable chips, it’s time to fire that puppy up again. No matter what your garden grows, you can make chips out of something in there. So, whip out your dehydrator and start creating your perfect batch today!

Leslie, thanks so much for your tips. I am going on a 16 day, lone backpacking trip and weight will be Imperative. Plus I also have the problem of variable weather which could range from 85 degrees to a white out so I have to accomodate for that also.
Yummy. I want veggie chips!